Xtool KC501 Key and Chip Programmer user manual below, incl:
About KC501 (Features and parameters)
Read/Write the Chip (i.e Atmel AT24C01A, AT24C01A, Freescale’s MCU)
Generate Key
Others (read key frequency, identify key type)
Part 1. About KC501
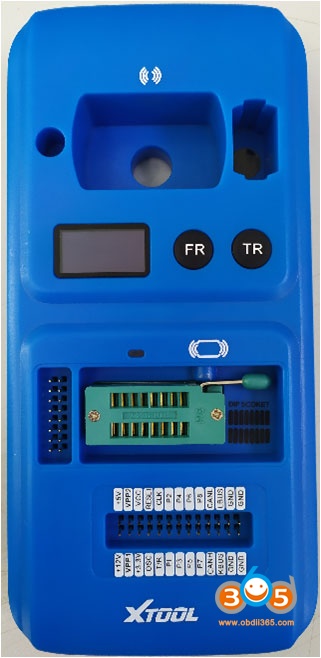
Xtool KC501 key programmer:
– Support registers, microcontrollers, key programming and other types of chips read/write, anticipate and other functions;
-Support key automatic identification, partial key reading, key generation, key reading information, key check, key unlock and other functions;
-Can be put in use with tablets for immobilization.
Brand-new Design
Compact, anti-fall and durable design
More Functions
Support registers, microcontrollers, key programming..etc..
More Chips
Support 124 kind of EEPROM, 7 MCU、11 ECU
(data as of Oct-11,2019)
Compatibility
Put in use with X100 PAD3, X100Pad2 and AutoProPad


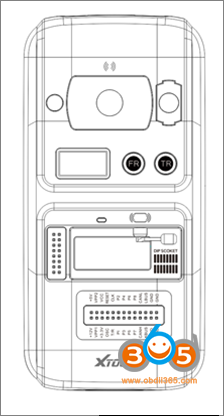
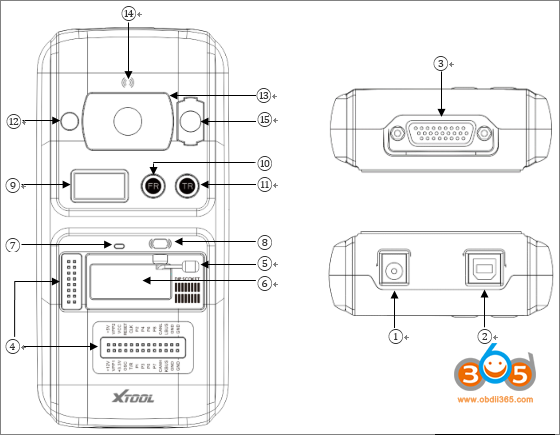
- DC power port: 12V DC power supply.
- USB Port: Data transfer and 5V DC power supply.
- 26PIN: DB Connect with cables of Mercedes infrared, ECU, MCU and MC9S12.
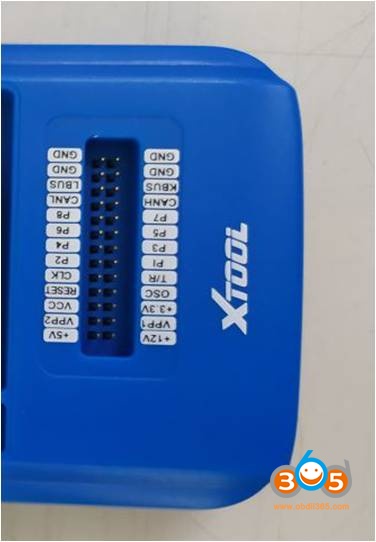
- PIN Port: MCU board, MCU spare cable or DIY signal cable interface.
- Remote lever: lock the movable lever.
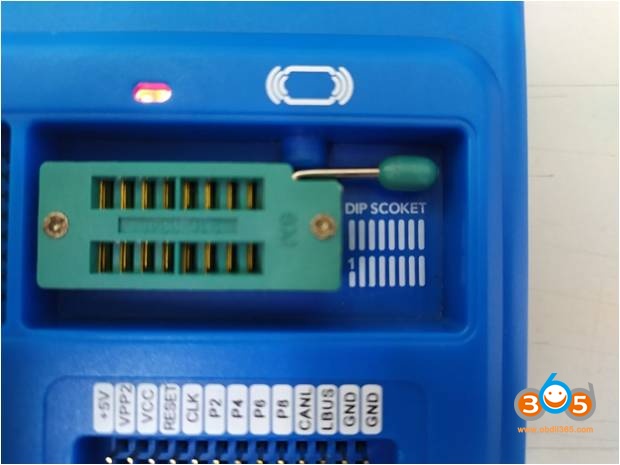
- Chip socket: Place and lock chip.
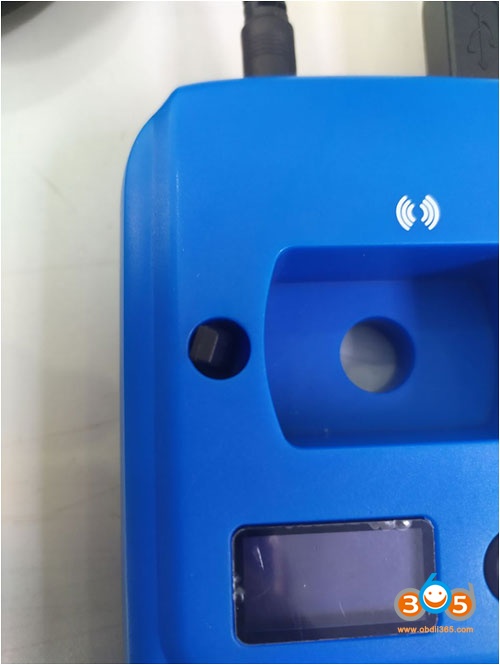
- Light indicator: Indicates the current status.
- IC card sensor: used to read/write IC card data.
Operating Temperature -10℃〜60℃
Storage Temperature -20℃〜60℃
Ports DB26, USB-B
Input Voltage DC12V 0.5A, DC 5V 1A
Dimension 177mm* 85mm* 32mm
Battery None
Communication USB (with Tablet or PC)

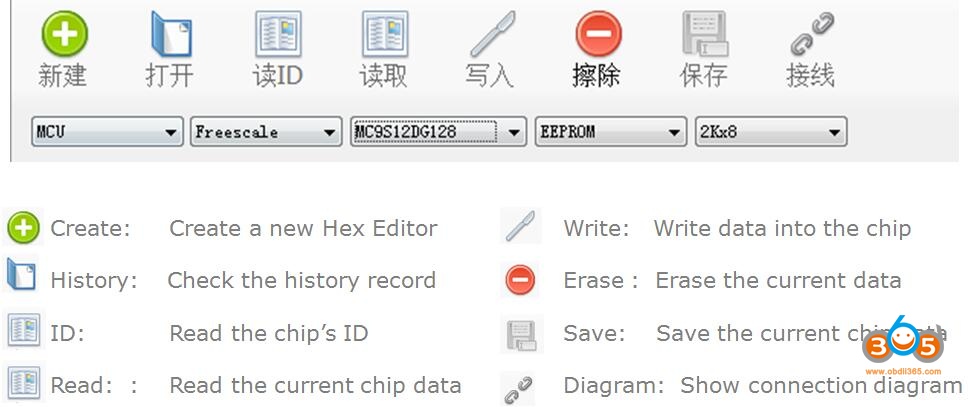
Part 2: Xtool KC501 Read Write MCU EEPROM Chip
First, Connect USB with PC

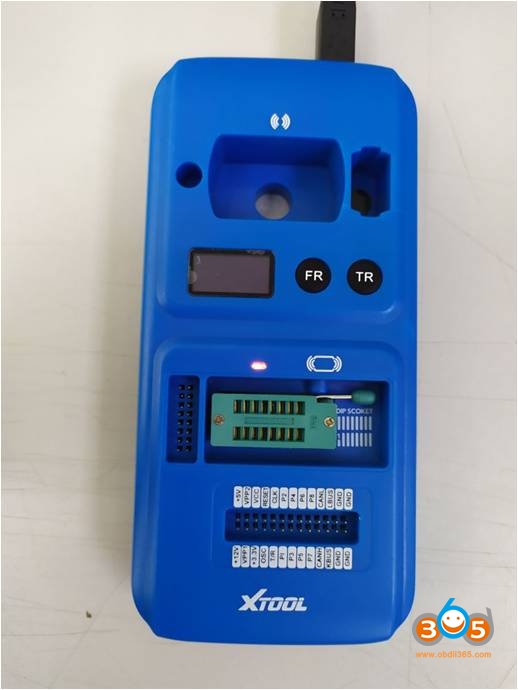
Check the light
Red Light on: standby mode
Green Light on: Data Transmission

- Read/Write Atmel AT24C01A Chip
Then, Open the chip lock socket lever and put into the chip according align with the pin.


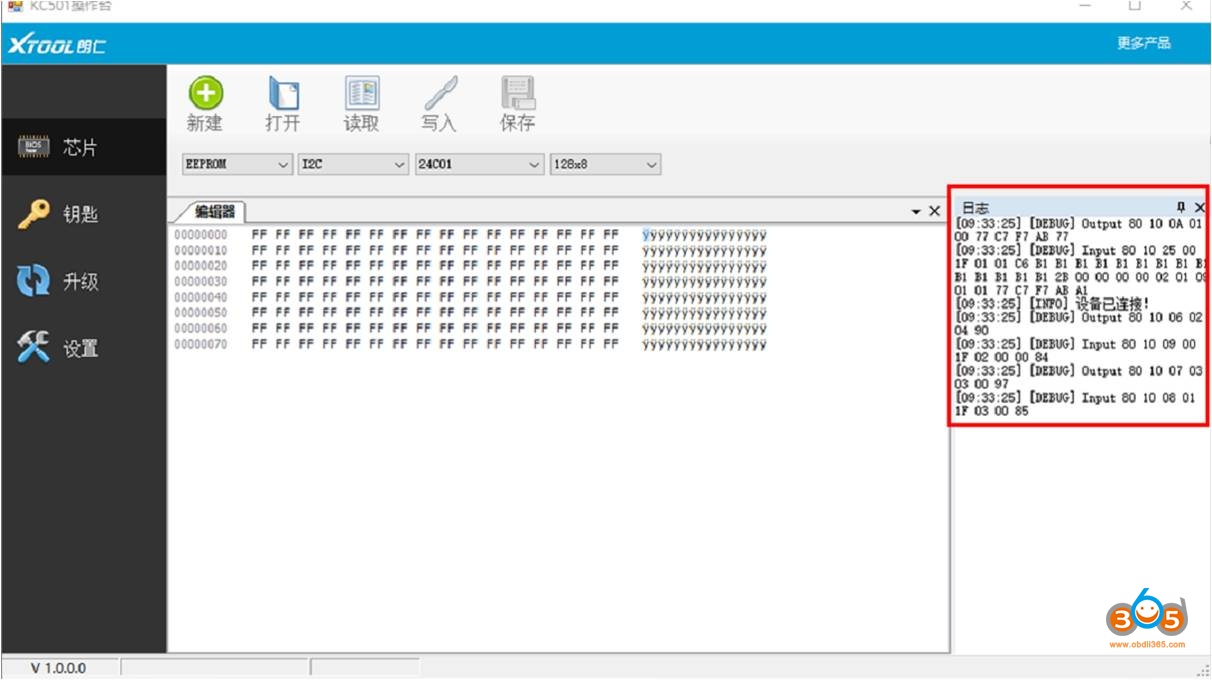
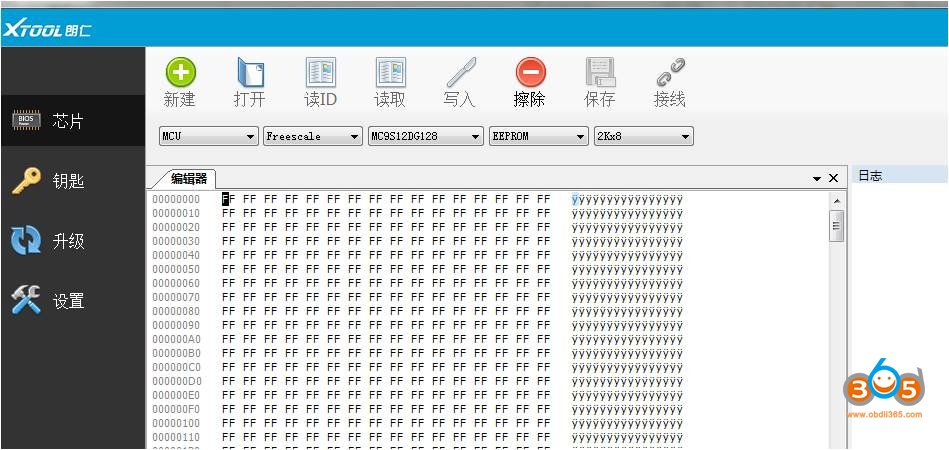
Open software in PC, “Successfully Connected” will be shown:

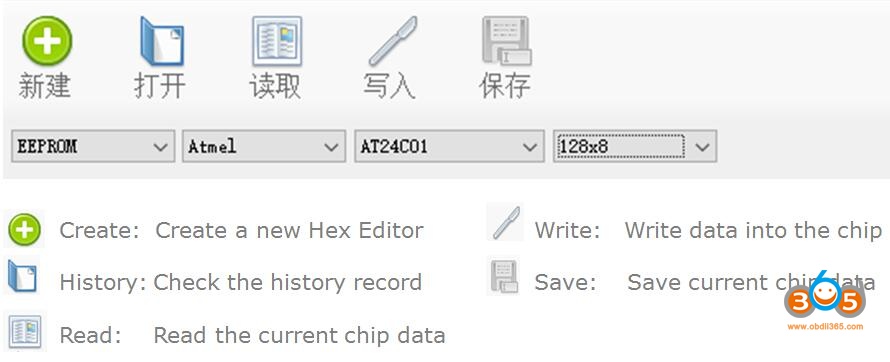
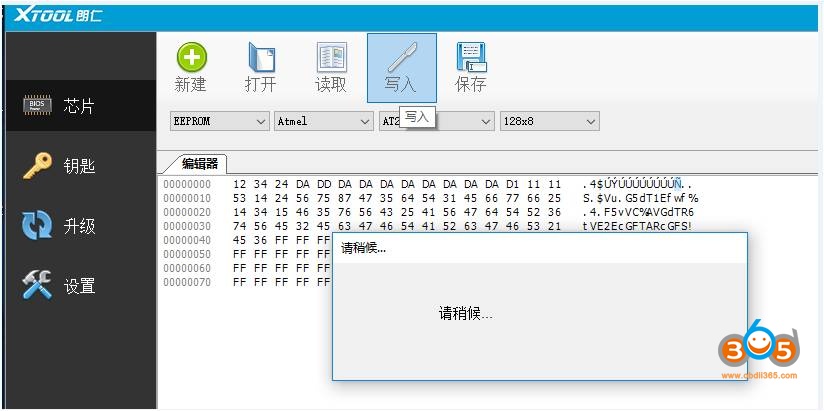
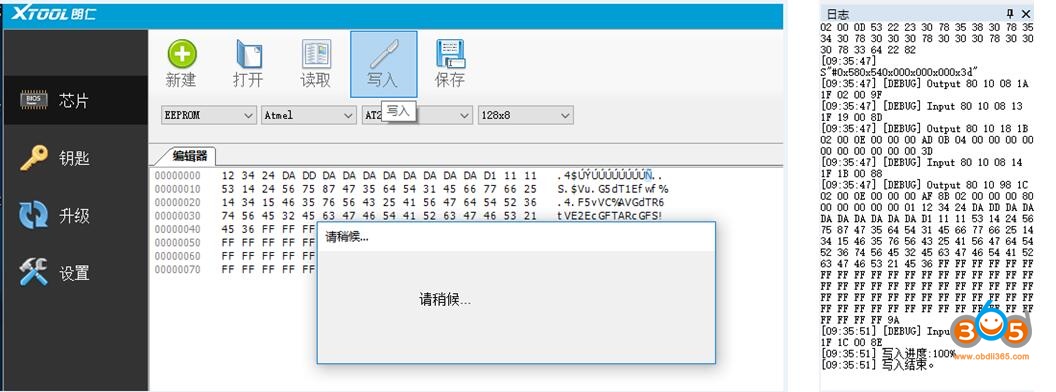
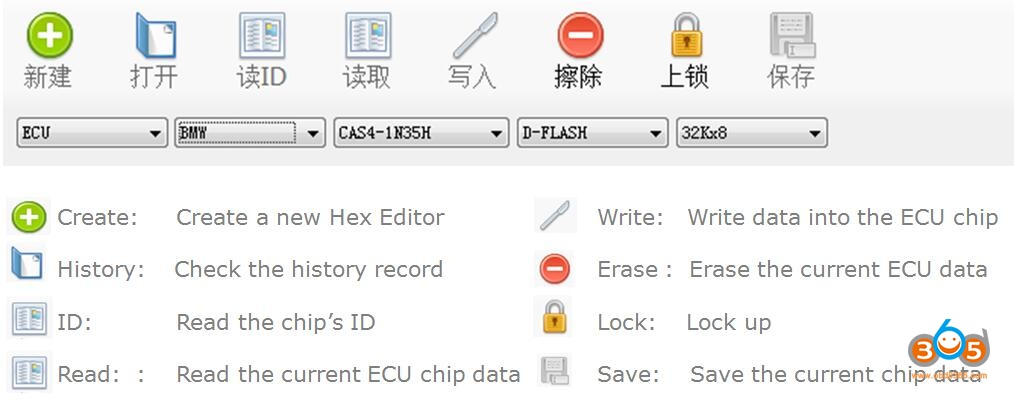
- Read/Write EEPROM – Atmel – AT24C01A Chip


Write data into the chip


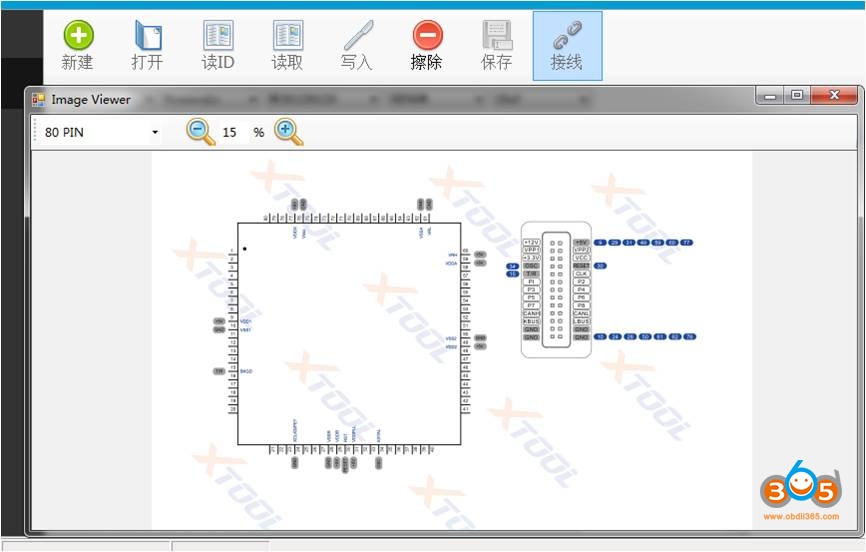
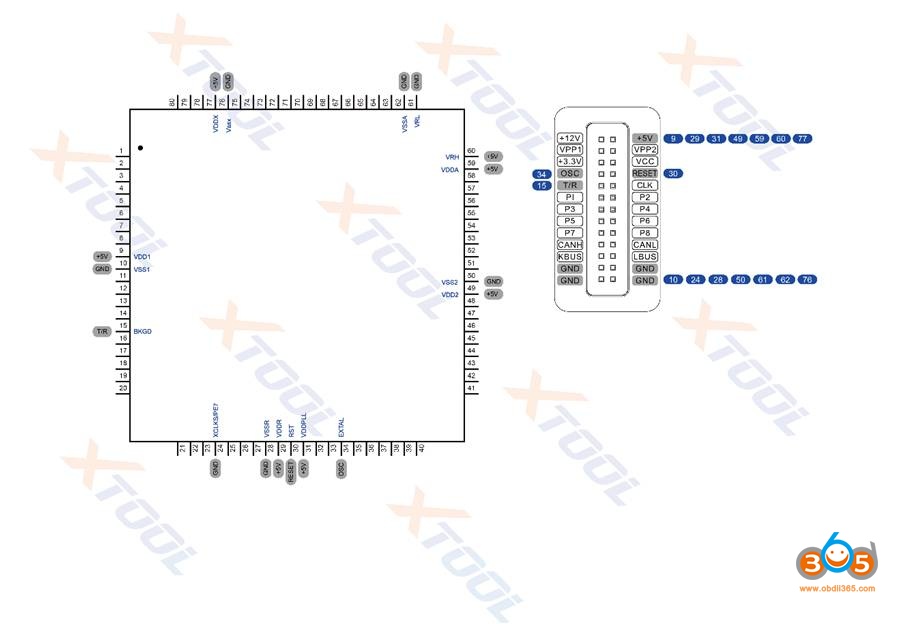
- Can Read/Write/Erase 7 kind of Freescale’s MCU


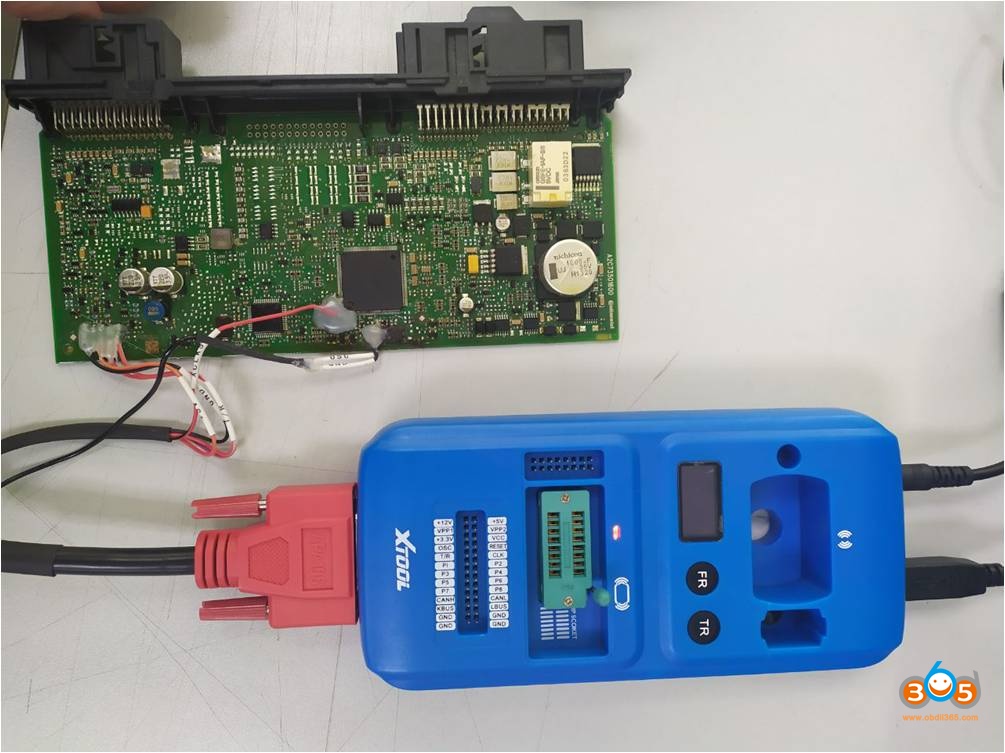
Connect chip In terms with below diagram, have it connect with KC501.

Same type of chip may have different pin number, e.g. 80PIN, 112PIN,144PIN…


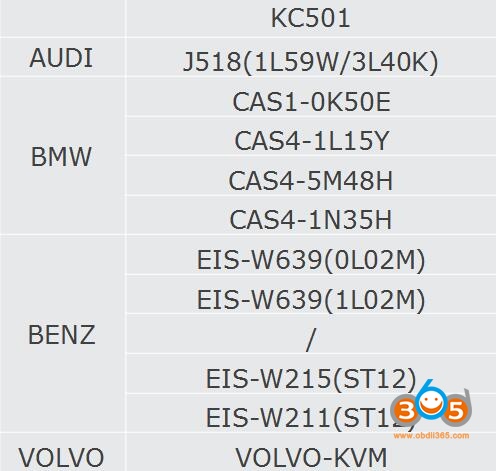
- Xtool KC501 supported ECU:


Warning: Please turn off the power when connecting the ECU, turn on 12V power after its
connected. Read/Write MCU could be a reference when doing Read/Write the chip here.

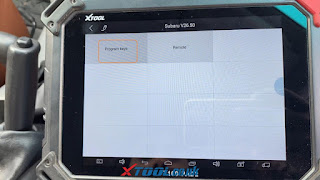
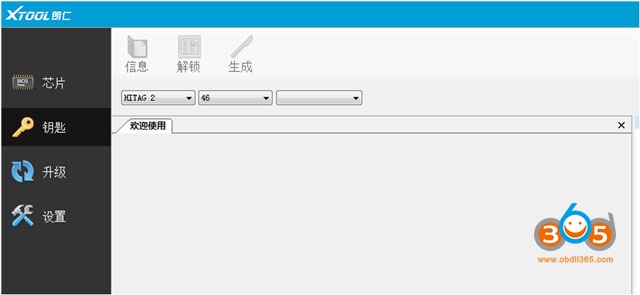
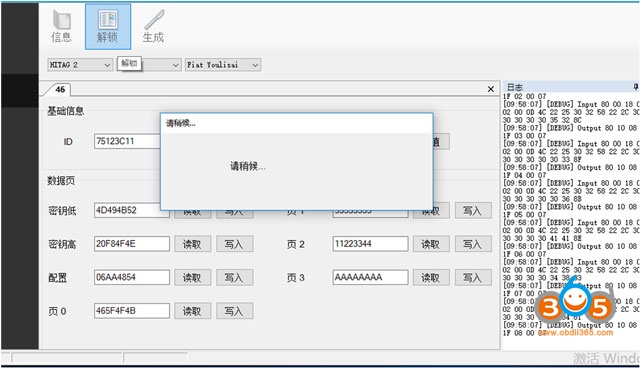
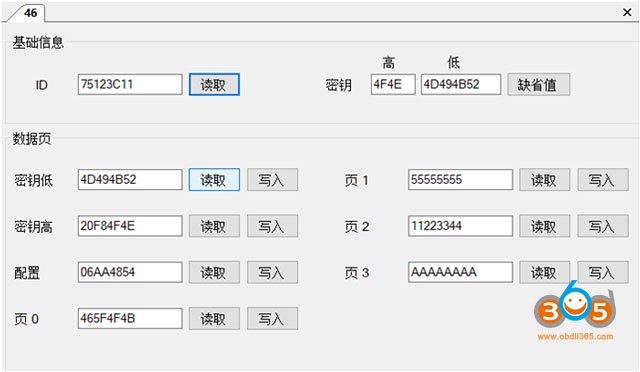
Part 3: Xtool KC501 Generate Key Procedure
Put the key or key chip into the slot accordingly, connect to PC via USB, and open the software on PC


Info: Read the key information
Unlock: Unlock the key
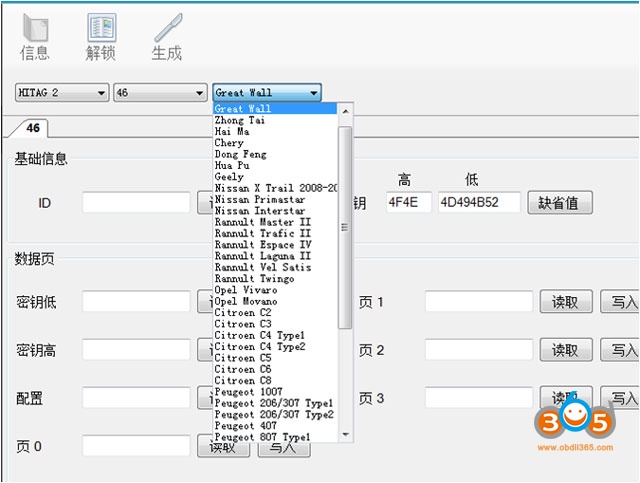
Generate: Generate the key according to the chosen car brand
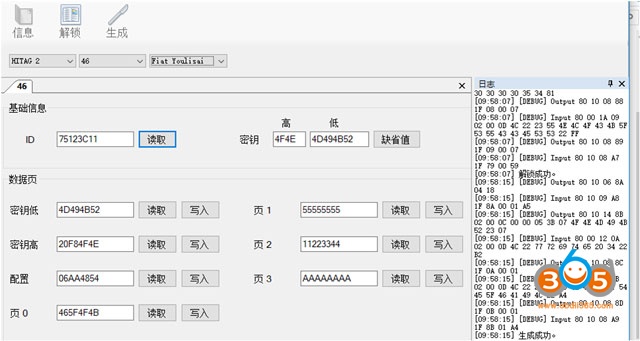
Select the car brand and tap the “generate” button, key will be generated.

Can read the data of the current key chip.


Part 4: others
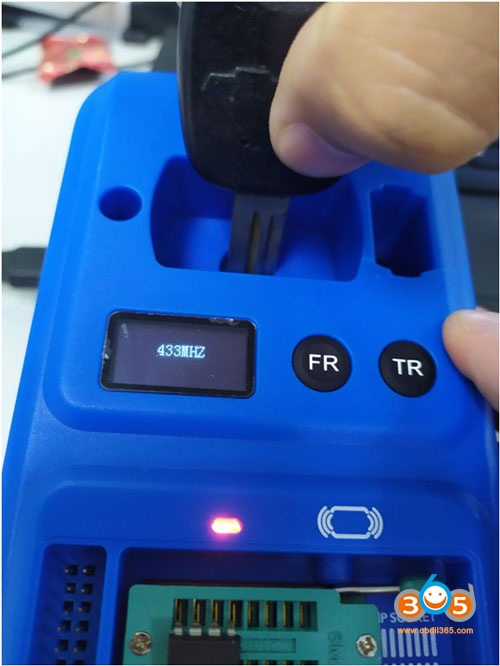
- Read key frequency with Xtool KC501
Put the key into the slot, press ”FR” button, then press the transmission button on the key, frequency could be reached and read.


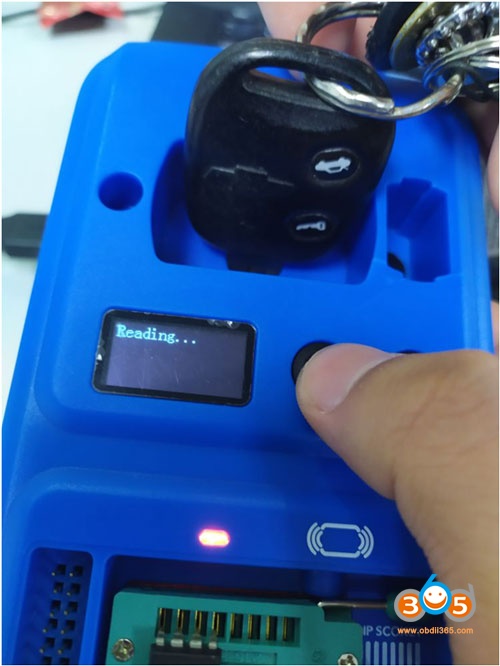
- Identify key type with Xtool KC501
Put the key or key chip into the slot accordingly, press ”TR” button, then the type and ID info could be read.

Enjoy!
www.obdii365.com